Every artist embarks on a journey, and today, we’re taking a delightful artistic trip to the charming world of Disney to learn how to draw the lovable canine, Pluto. Known for his endearing expressions and being Mickey’s loyal pet, Pluto has brought smiles to our faces for generations. Now, it’s time to bring him to life on your sketch pad!
Manifesting Pluto on Paper
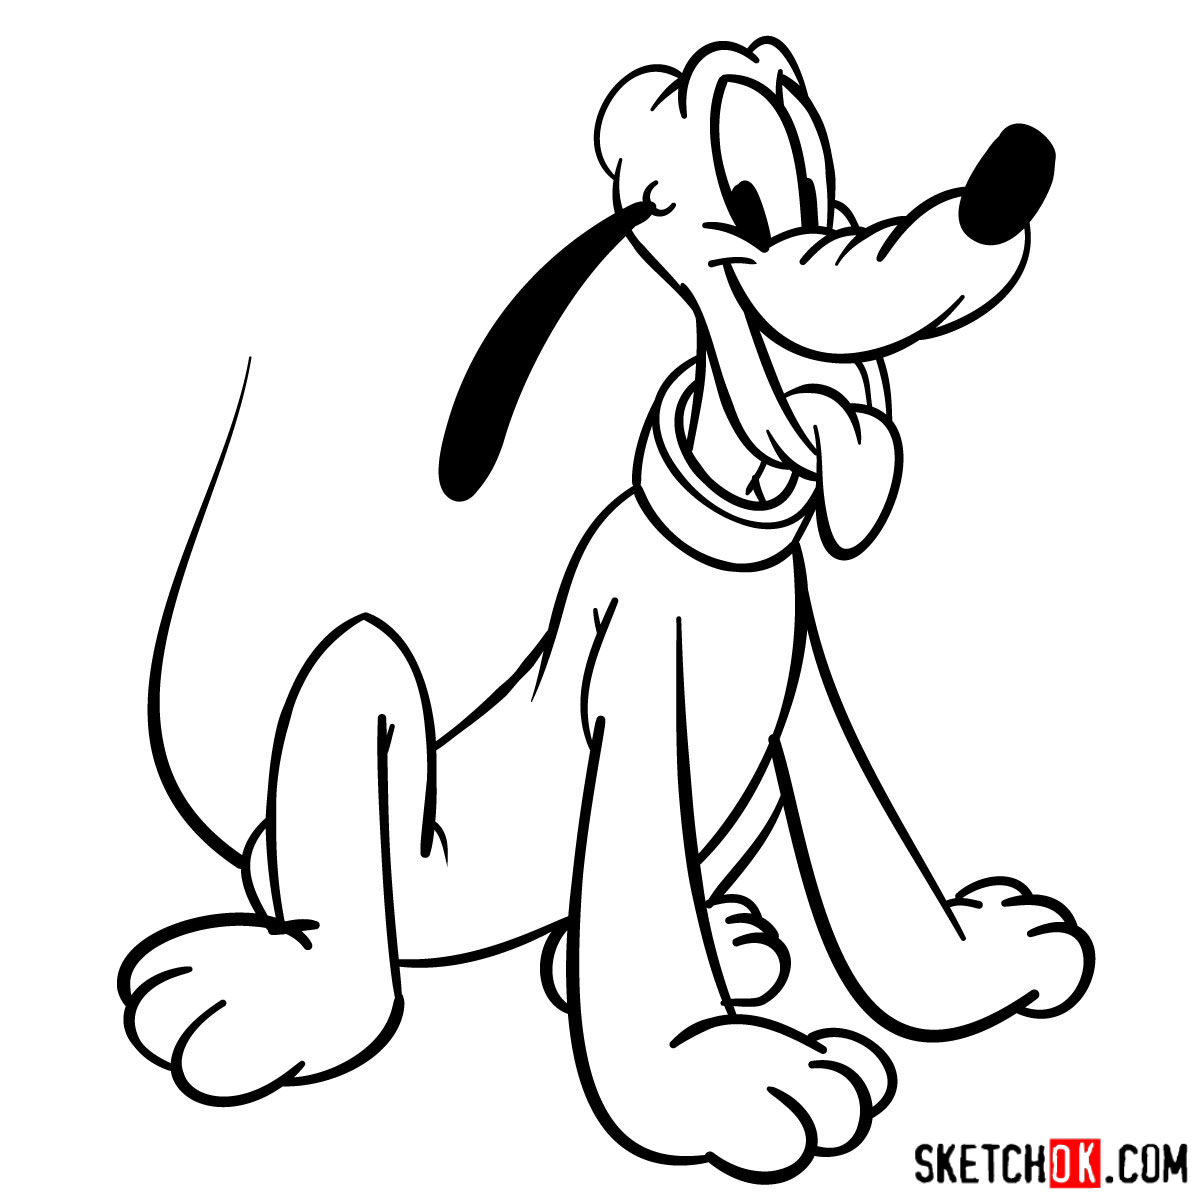
Pluto’s distinct characteristics have made him a timeless Disney character. The medium-sized, yellow-orange colored dog with his distinguishing black ears captures hearts with his dynamic expressions. He’s an exciting character to draw due to his non-anthropomorphic design, unlike his Disney counterparts. So let’s highlight key features you need to consider when drawing Pluto:
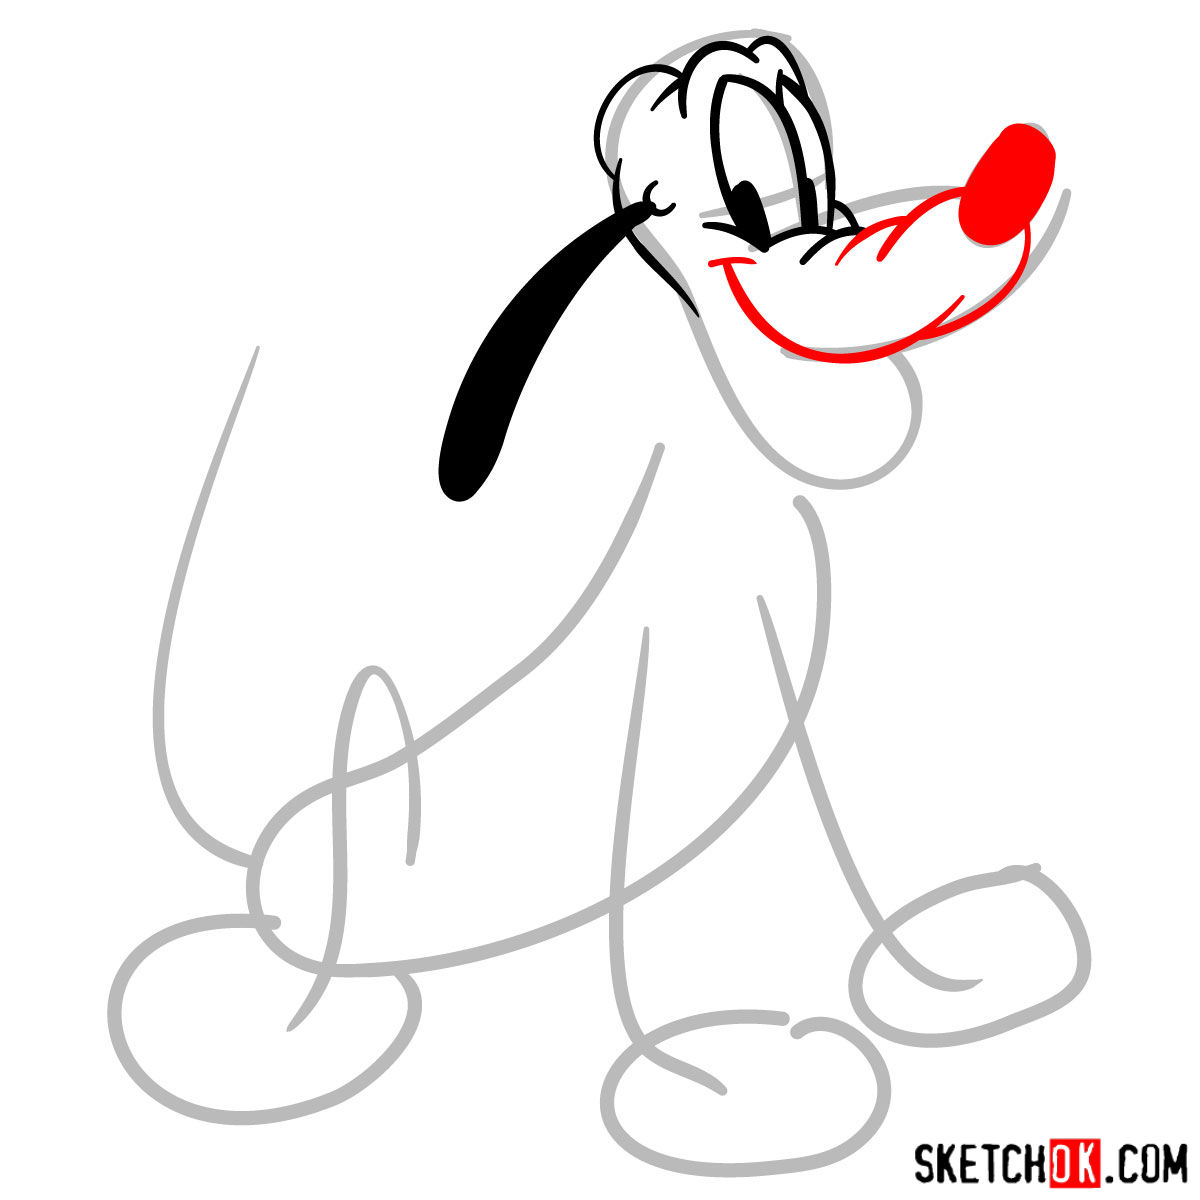
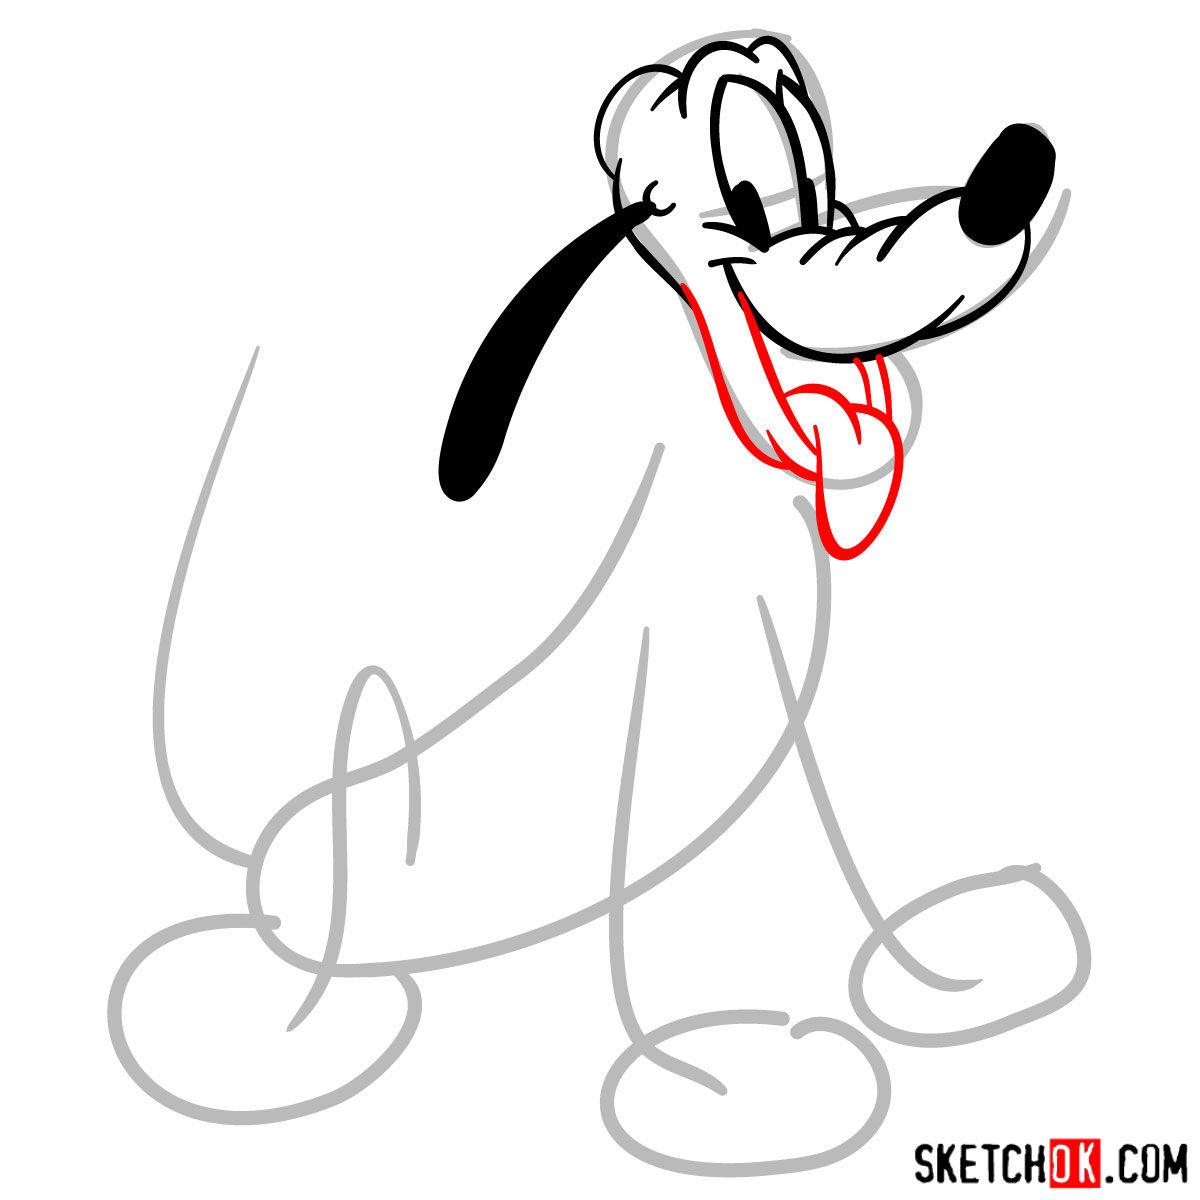
- Facial Expression: One of Pluto’s iconic traits is his expressive face. Focusing on his eyes, eyebrows, and mouth will be key to bringing Pluto’s personality to life.
- Body Shape: Pluto’s body structure is that of a traditional dog, unlike Mickey or Goofy. The rounded body, thick neck, and short limbs all add to Pluto’s charm.
- Color: Pluto’s classic yellow-orange color, contrasting black ears, and the white of his eyes give him his characteristic look.
Other characters that might add extra charm to your drawing include his loyal companions Mickey Mouse, Goofy and Minnie.
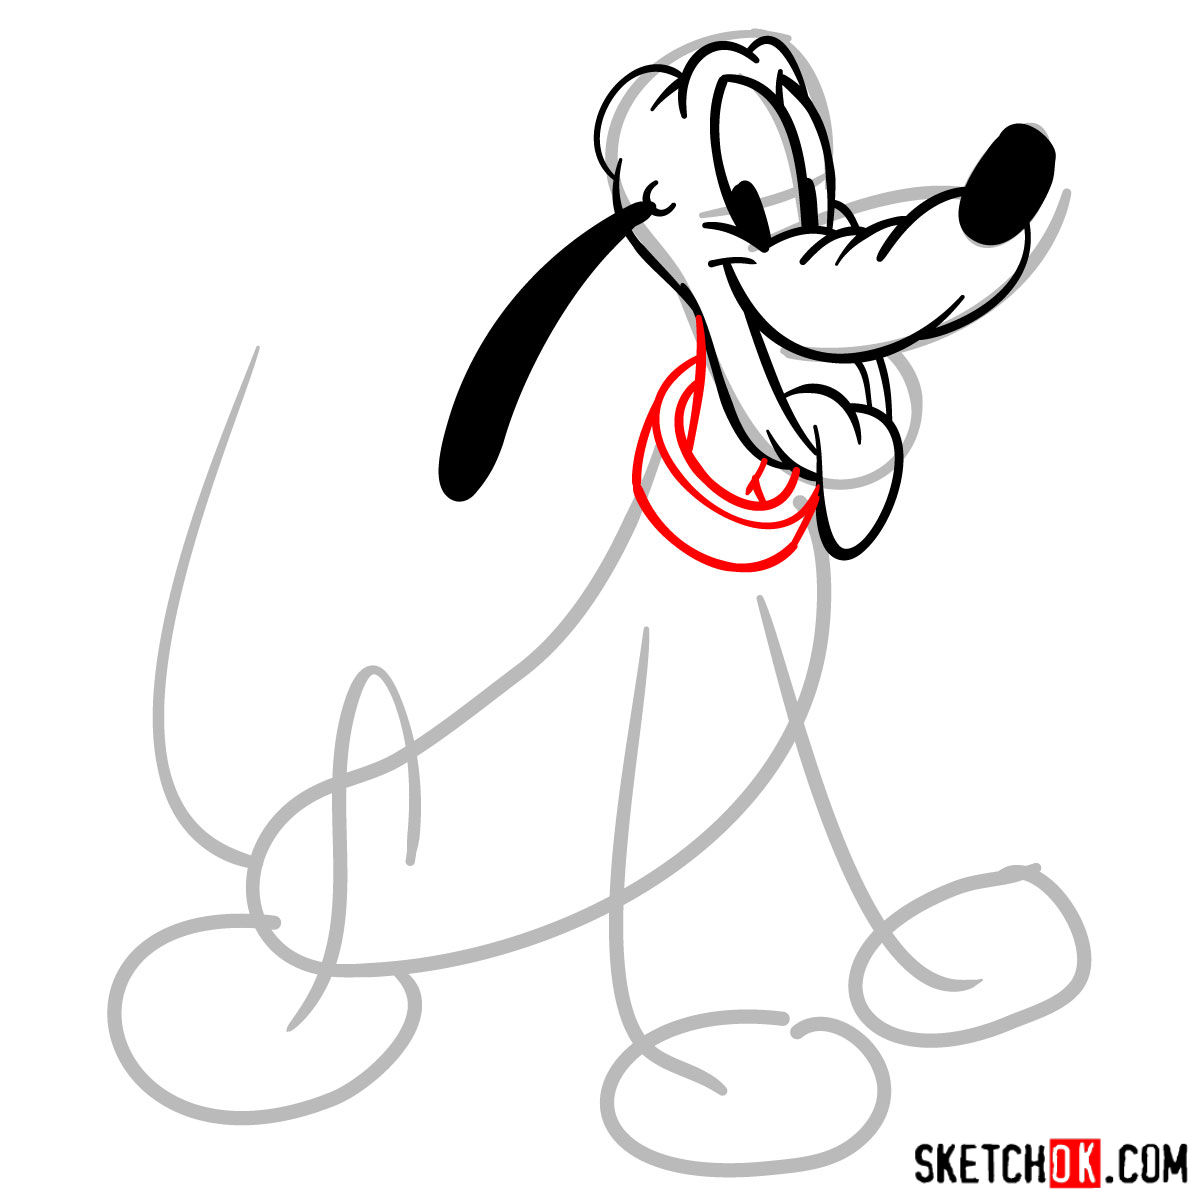
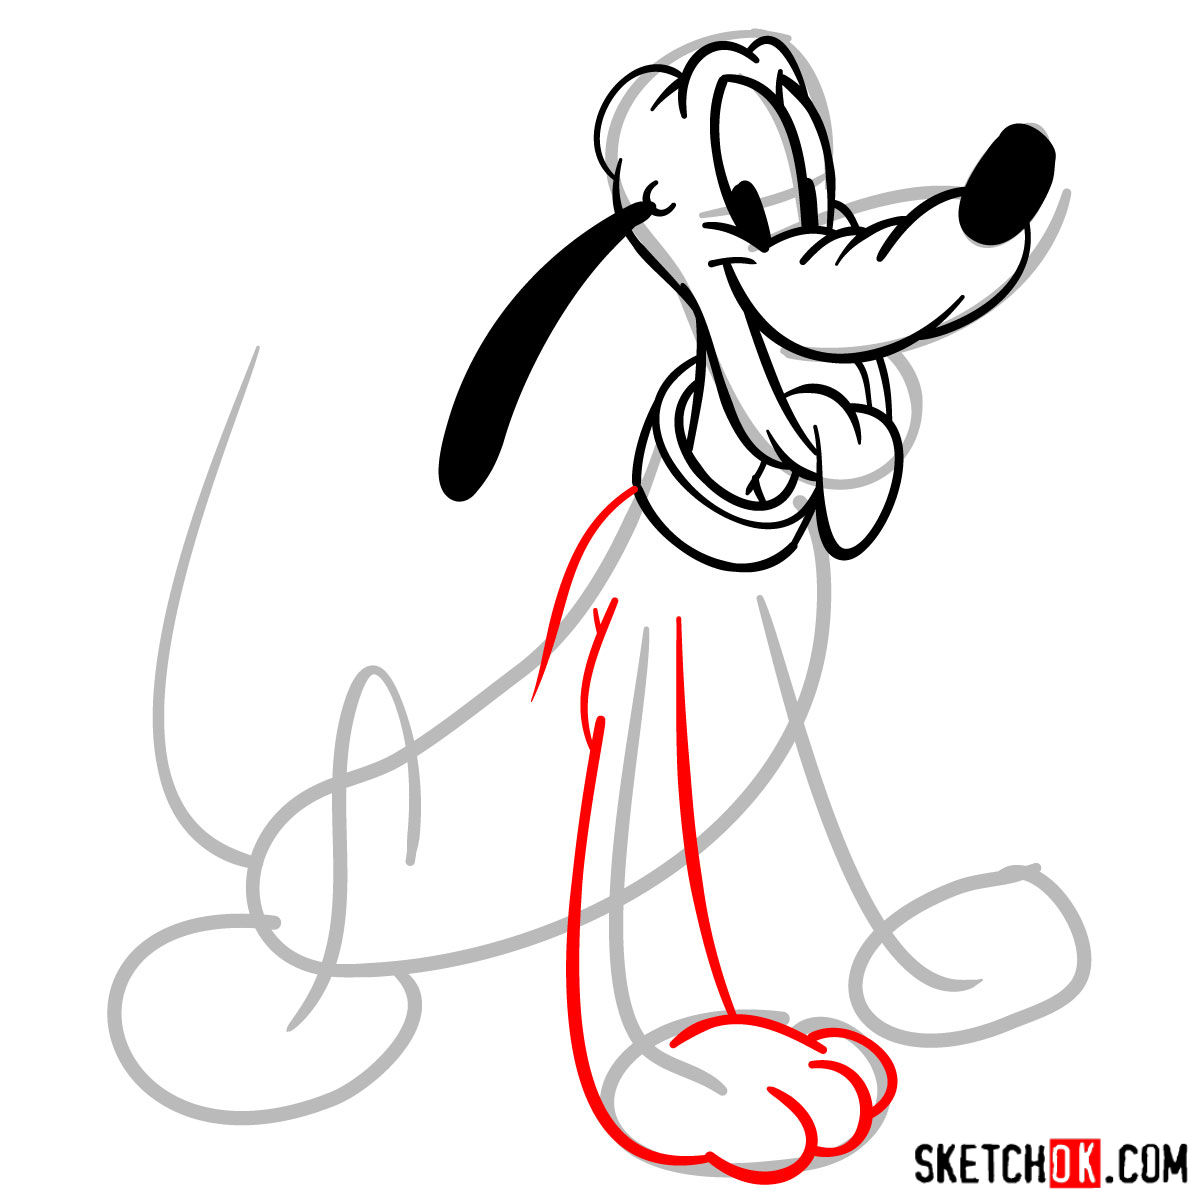
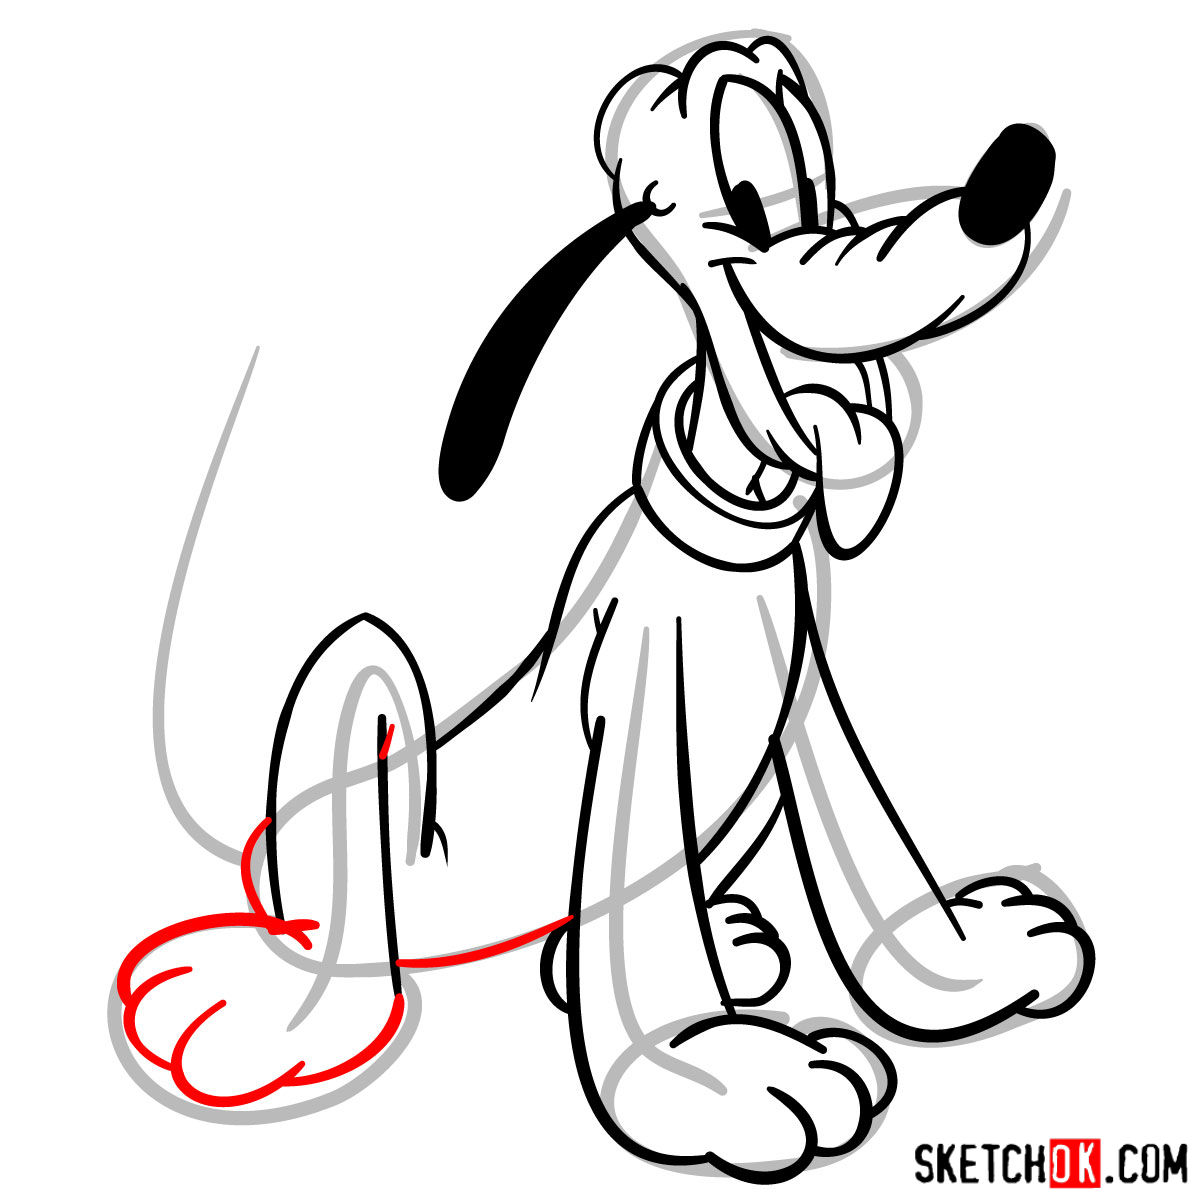
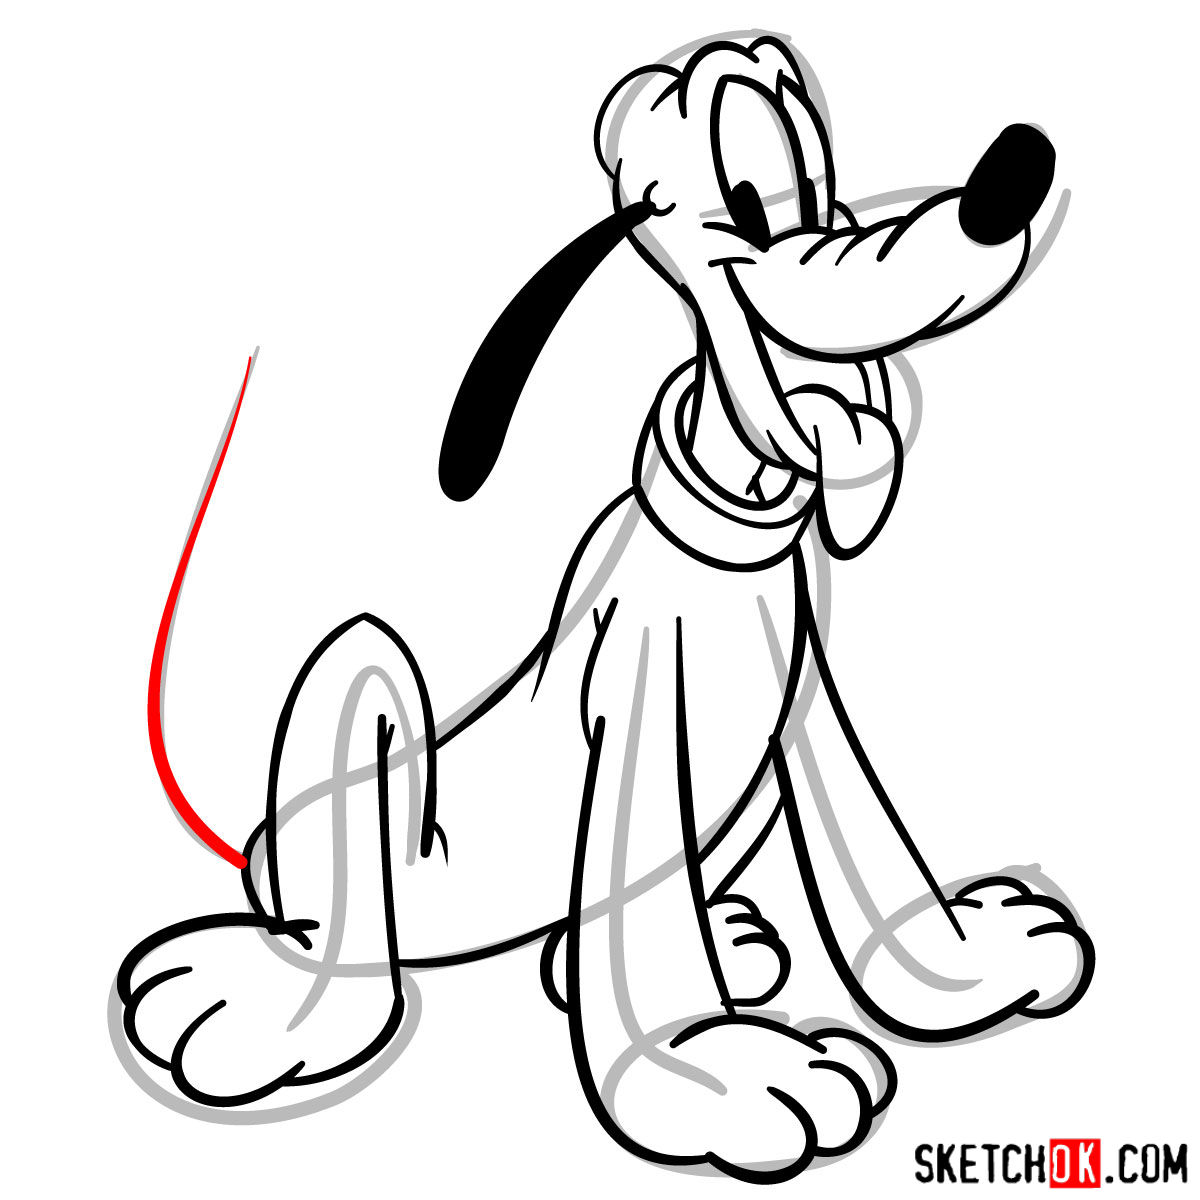
Mastering the Art Guide
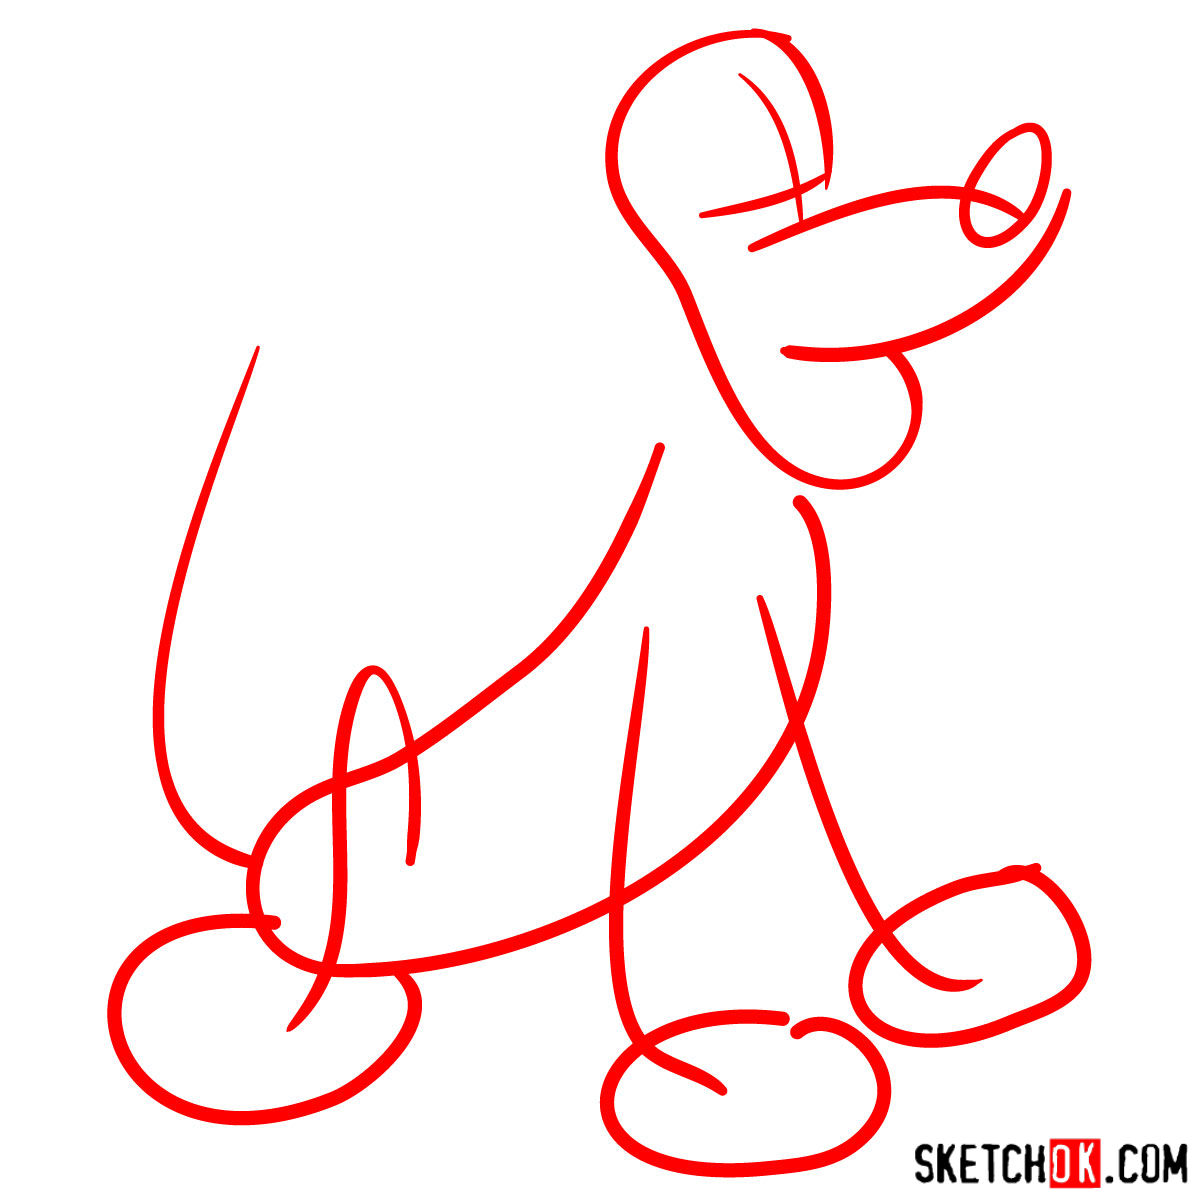
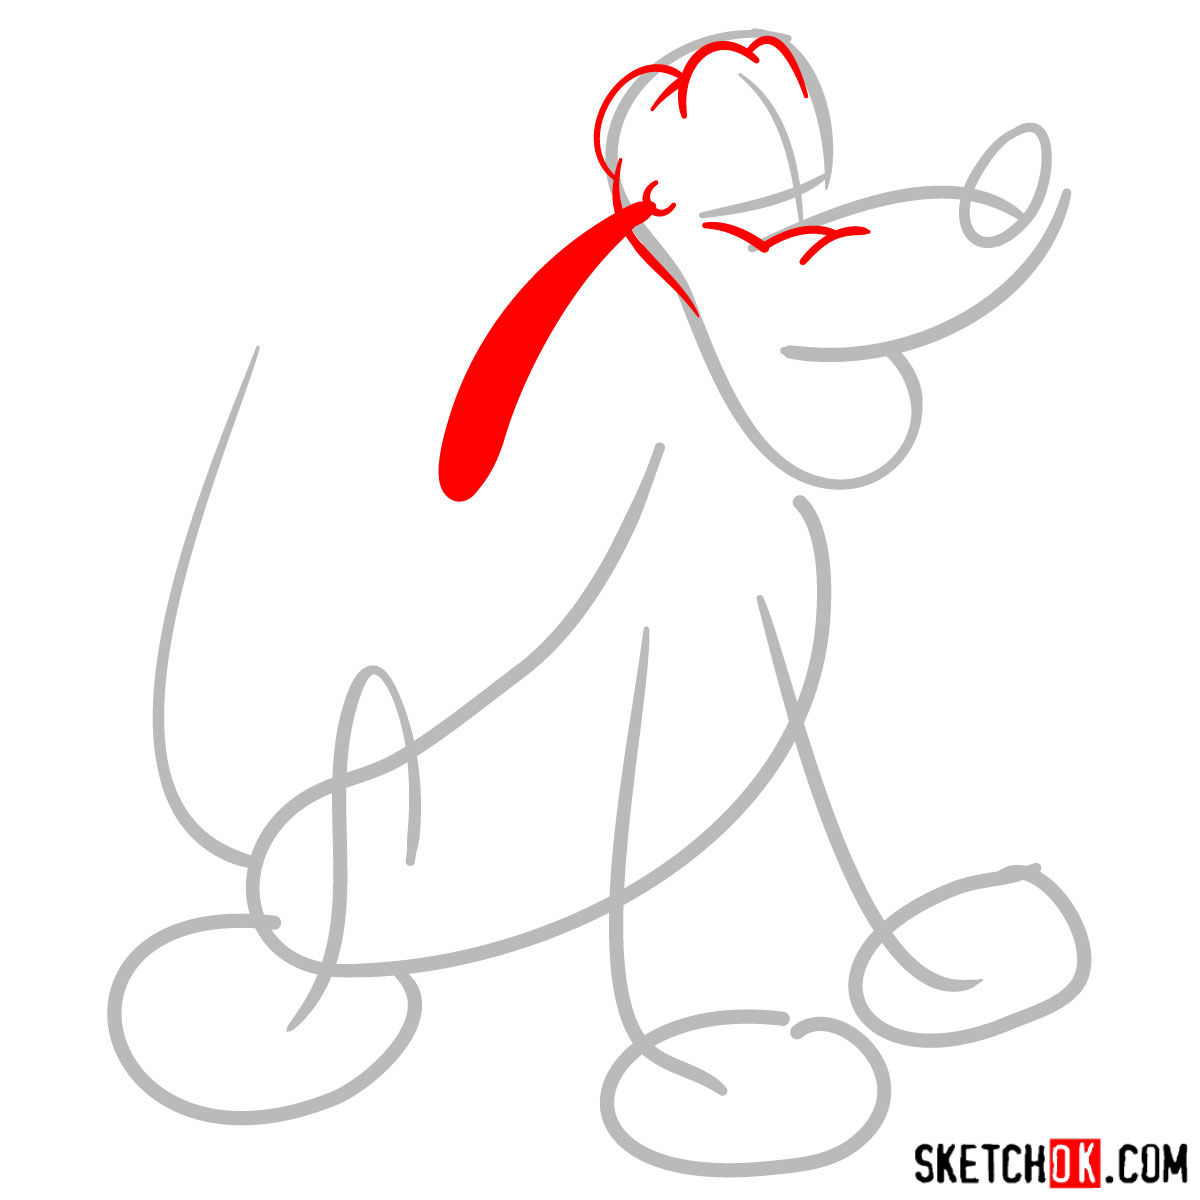
Our guide contains a total of 14 stages, beginning with sketching out the basic proportions and concluding with optional inking. Here’s a breakdown of how our color-coded guide will assist you:
- Red Color: Highlights the current stage you should be concentrating on.
- Black Color: Indicates the lines you’ve previously drawn.
- Grey Color: Shows the basic sketch and proportions.
For those opting to ink their sketch, remember to gently erase the initial pencil sketch only after the ink has completely dried to prevent smudging. The final image of Pluto in our guide can serve as a helpful color reference when you’re ready to bring your drawing to life with hues.


FAQs on Drawing Pluto
How can I perfectly capture Pluto’s expressions?
Pluto’s expressions largely rely on his eyes and eyebrows. Practice drawing different shapes and positions for these elements to master expressing Pluto’s varied emotions.
Any tips on selecting the correct colors for Pluto?
Pluto’s primary color is yellow-orange, his ears are black, and the insides of his eyes are white. The final image in our guide serves as a color reference for your drawing.
Wrapping Up
As we conclude our artistic journey on how to draw Pluto, I’d love to invite you to share this guide with others. By spreading the word, we can collectively encourage more creativity in the world. Remember, art is a form of expression, and what better way to express oneself than by drawing one of Disney’s most adored characters?
By contributing to the SketchOk project, you not only help us create more free drawing guides but also contribute your ideas for new tutorials. As a small token of appreciation, don’t forget to follow us on Facebook, Instagram, and Pinterest.
Thank you for being part of this artistic journey. Happy sketching!