Every art enthusiast knows the joy of bringing a beloved character to life on paper. Today, we embark on an illustrative journey on how to draw Chibi Baymax, the heart and soul of the Big Hero 6 franchise. This inflatable healthcare companion, crafted with brilliance by Tadashi Hamada, has touched many hearts. Now, it’s time for you to capture his essence in your sketches.
Character Highlights: Baymax’s Unique Appeal
- Origin: Baymax was meticulously crafted by Tadashi Hamada, aiming to revolutionize the healthcare industry.
- Personality: Initially a pure healthcare robot, Baymax’s interactions with Hiro and others enriched his personality, making him a protector and a friend.
- Appearance: With an outer vinyl layer, Baymax’s soft and non-threatening design aids in his caregiving. Deep within, he possesses a complex carbon-fiber skeleton.
- Trivia: Fans of Big Hero 6 might consider adding characters like Hiro to create a more dynamic drawing. Or even sketch them together next.
About the Drawing Guide: Deciphering the Steps
The guide comprises 7 comprehensive steps, ensuring that even beginners can grasp the essence of drawing Chibi Baymax. Let’s dive into understanding our color-coded guide:
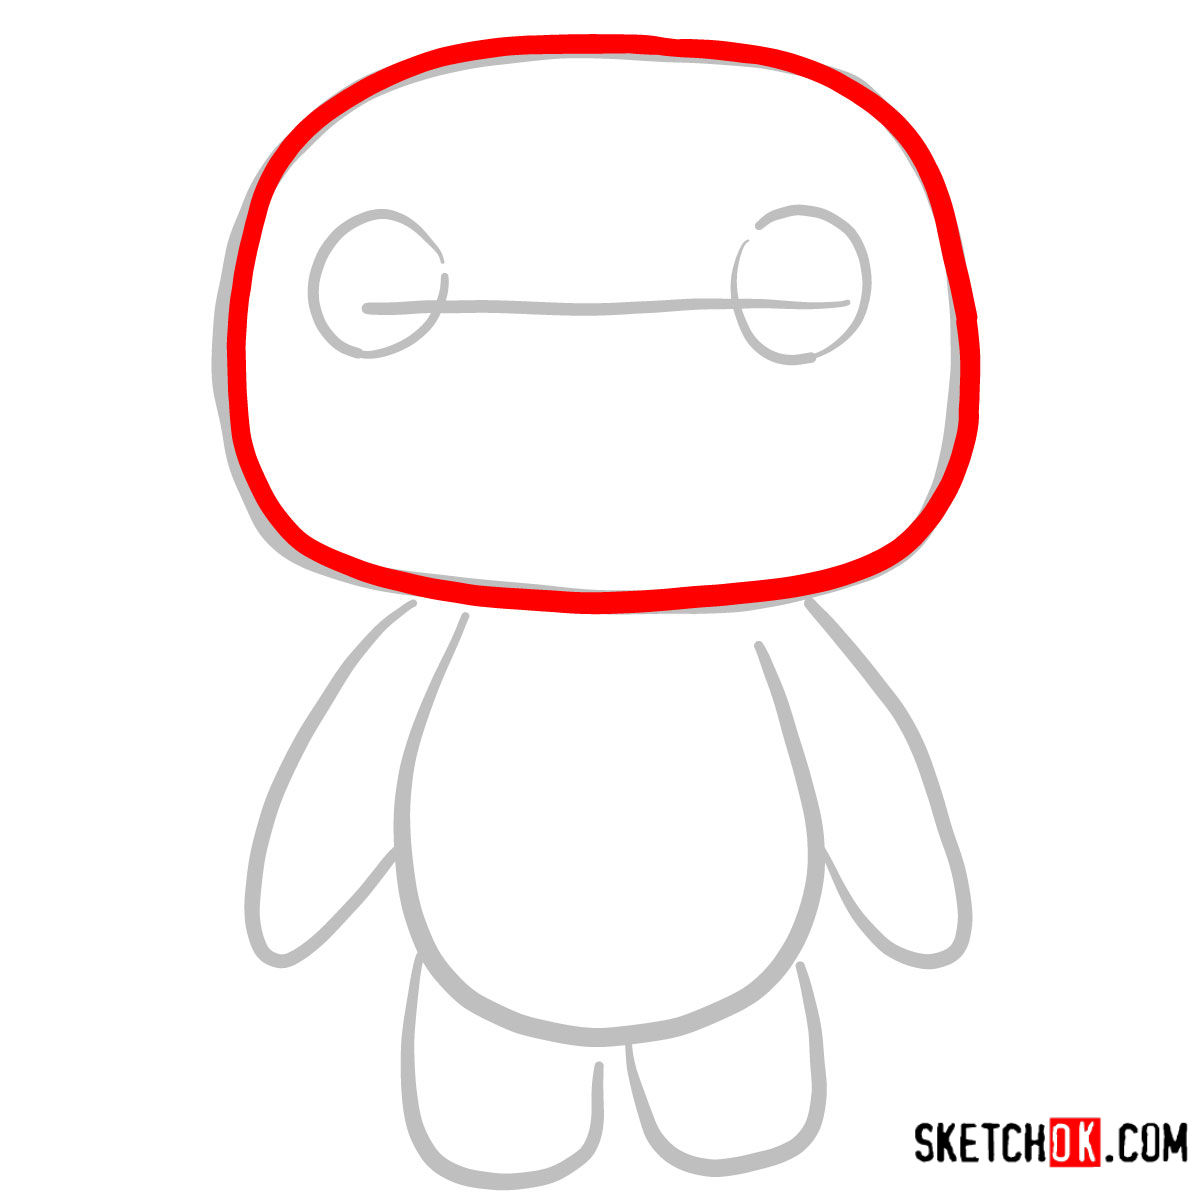
- Red Color: Indicates the current step, ensuring you focus on the right details.
- Grey Color: Represents the basic proportions sketch. It’s essential to start light, paving the way for more intricate details.
- Black Color: Showcases the lines you’ve drawn in previous steps, guiding your progress.
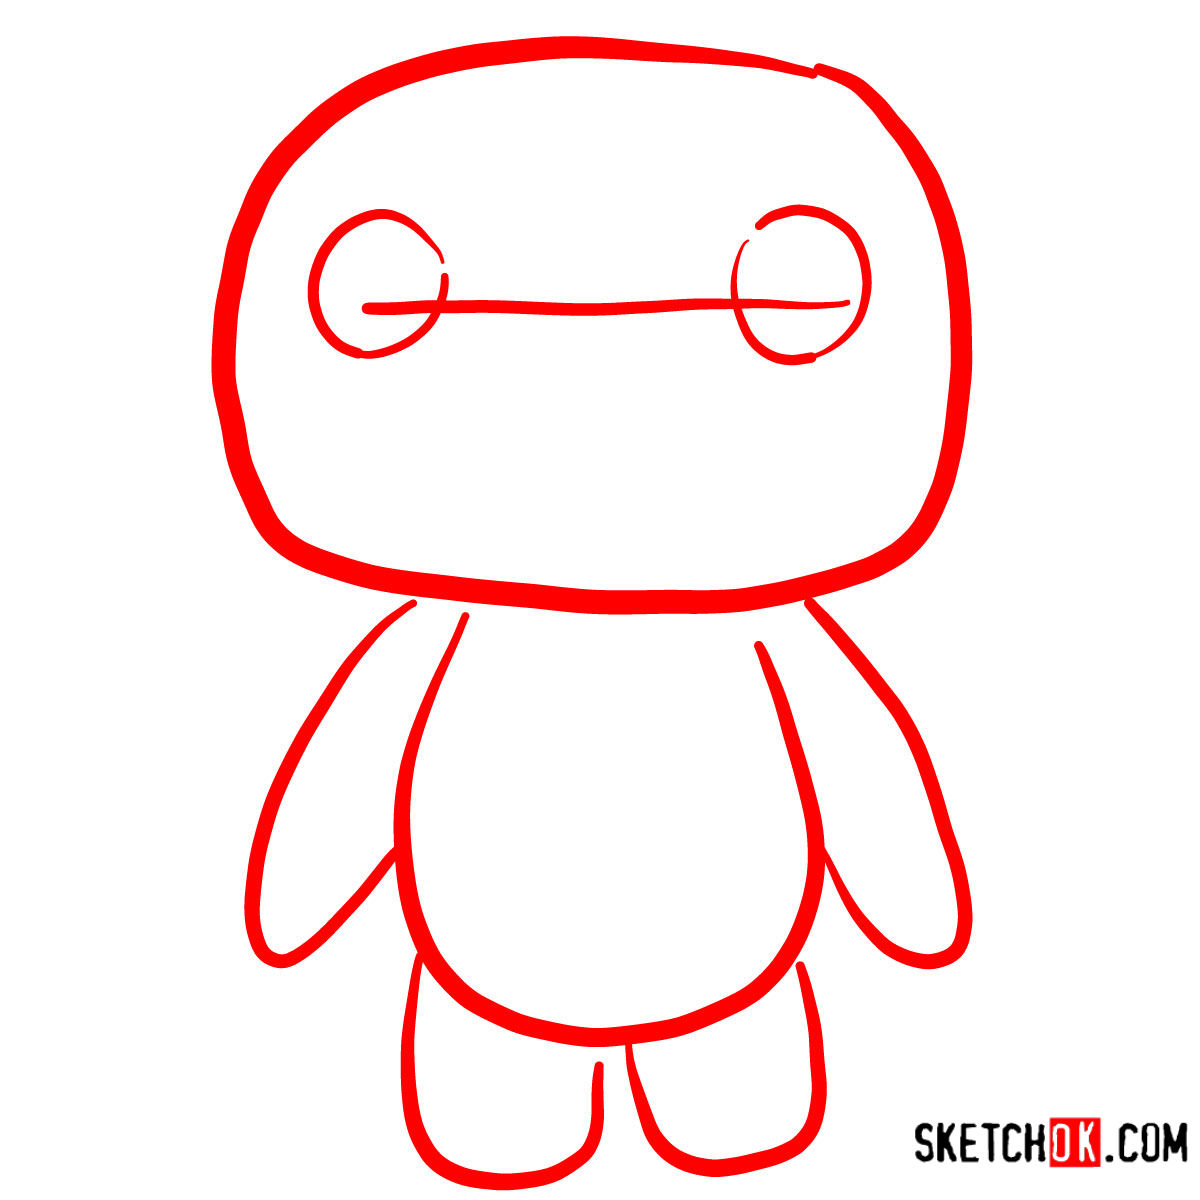
As we embark on this journey, remember that the first stage revolves around sketching the basic structure. Once you’ve finished your drawing, you have the option to ink your sketch. It’s crucial to let the ink dry completely before gently erasing the pencil marks to ensure a clean and polished artwork.


FAQs on Sketching Baymax
What’s the ideal technique to capture Baymax’s soft exterior?
Given Baymax’s inflatable and soft design, using rounded, gentle strokes is key. Avoid sharp edges and consider using a softer pencil to achieve the plush effect.
How do I effectively sketch Baymax’s eyes?
Baymax’s eyes, or hyperspectral cameras, are simplistic yet expressive. Start with a horizontal line to connect them. Ensure they are evenly spaced and maintain symmetry for an authentic look.
What should I focus on while sketching Baymax’s body?
Baymax’s body resembles a large marshmallow. Emphasize his width and ensure that his arms seamlessly connect to his body without any abrupt joints or angles.
Creating art is a fulfilling experience, and sharing your creation can be equally rewarding. If you enjoyed this guide on how to draw Chibi Baymax, consider sharing the link with fellow enthusiasts. For those who wish to support the ongoing efforts of SketchOk, consider donating. With every contribution on Buy me a coffee, you get the chance to suggest topics for future tutorials. Your suggestions take priority, ensuring that your desired tutorials come to life sooner. Let’s continue to spread the love for art and drawing!
Happy sketching!
This was great